Fun fact: when I originally wrote this post in 2018, I had VERY LITTLE of anything DIY-related figured out. I thought that maybe the rest of the world already knew how to attach a window box to siding and would think I was stupid for writing this. But since Google hadn’t helped me when I searched for instructions, I wrote this anyway.
And then, this ended up being my MOST POPULAR BLOG POST in 2019. So it’s safe to say that there are lots of other people confused about their window box installation.
In reality, this is an EXTREMELY solvable problem. Read on for the key and all the other details you need to easily spruce up your curb appeal.
Related: Want another way to make your home reflect YOU–for insanely cheap prices? Check out my printable wall art on Etsy in the Black Door Shop. You can even get 20% off your order with the code 20OFF. 🙂

The Problem with Installing Window Boxes on Siding
When I was first researching how to attach window boxes to vinyl siding, the ONLY results were advertisements for vinyl siding hooks, which look like this:
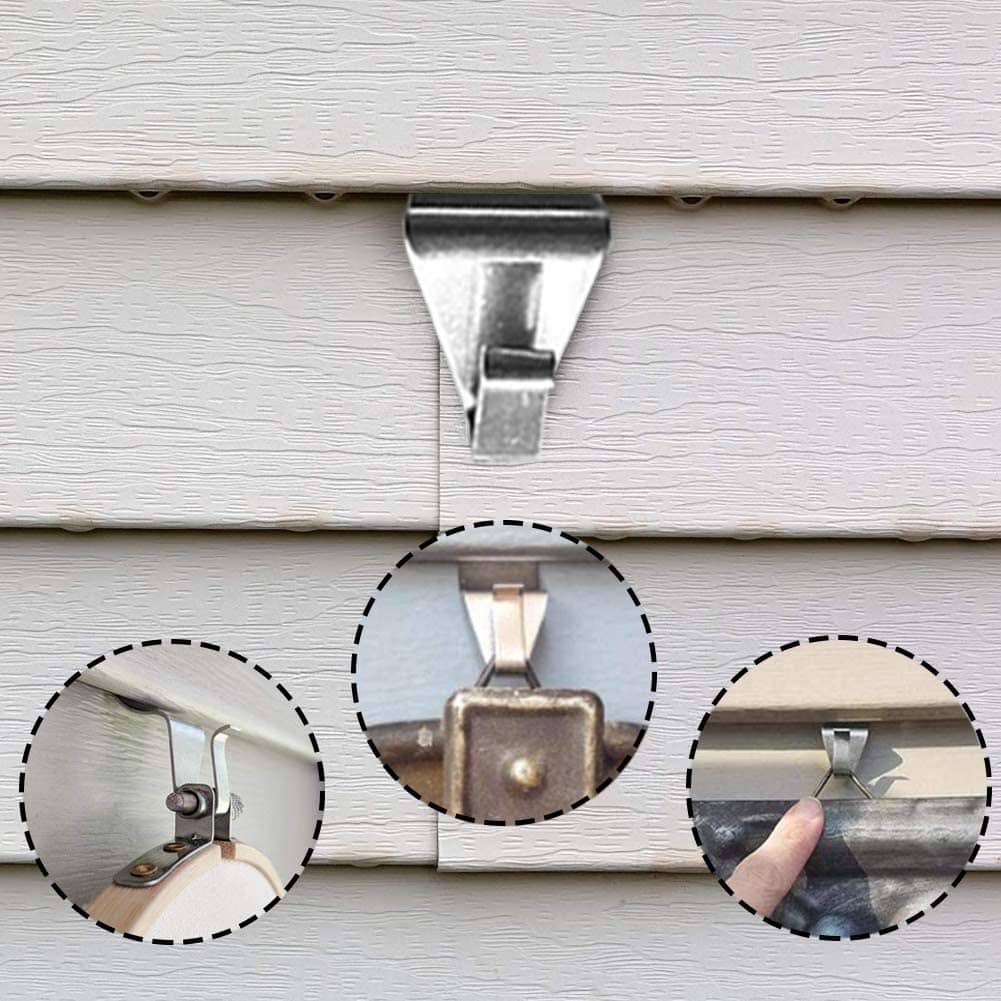
Obviously, plastic siding hooks are not going to hold a window box.
Psssst, here are my instructions to build a window box. This was the first thing I ever built–you could do it to!
In fact, EVERYTHING that showed up was an advertisement for a way to attach things to vinyl siding without drilling holes. They were mainly focused on light things like wreaths or flowers–definitely not for attaching something as heavy as a window box.
So, it made me wonder. Why is everyone so anti-drill for siding?
After way too much time typing variations of the phrase “Am I a terrible person if I drill into my siding?” into Google… I came to a decision.
Is it okay to drill into your vinyl siding?
The verdict is, you can. And you won’t be immediately banished!
HOWEVER, there is a reason that people want to avoid it.
Siding obviously protects the wood underneath from being exposed to water and all the other elements. So when you put a hole in it, theoretically, there is a small risk of water getting behind your siding.
So one thing you definitely shouldn’t do is drill hundreds of holes into the exterior of your house for funsies.
BUT… the risk of water getting behind your siding and actually causing a serious issue is very, very tiny. If you decide at any point to remove your window boxes, you can easily patch these holes with caulk.
And since window boxes are most likely a permanent fixture, you’re not leaving open holes in your siding.
So now that we all feel good about it, let’s finally go over how to hang window boxes on siding–the right way.
Related: How to Limewash Brick House
Supplies to Attach Your Window Box to Vinyl Siding
To make it as easy as possible, I’ve attached links to both Home Depot and Lowe’s. Both stores offer online ordering and usually do same-day pickup. Let’s get this done.
Need more details on the best tools & supplies for your projects? Check my Incomplete List of the Best Tools & Supplies for DIYers. It includes ONLY tools & supplies that I’ve personally used and recommend, plus some honest notes about each product and what you really need (and don’t need).
- Two steel L- brackets or “corner braces” per window box – Home Depot | Lowe’s
- Drill or impact driver – Home Depot | Lowe’s
- One drill bit a little smaller than the size of your screw – Home Depot | Lowe’s
- Wood screws that fit your L-bracket (and at least one inch) – Home Depot | Lowe’s
- Level – Home Depot | Lowe’s
It’s very possible that you already know what the steps are going to be now that you’ve seen the supply list.
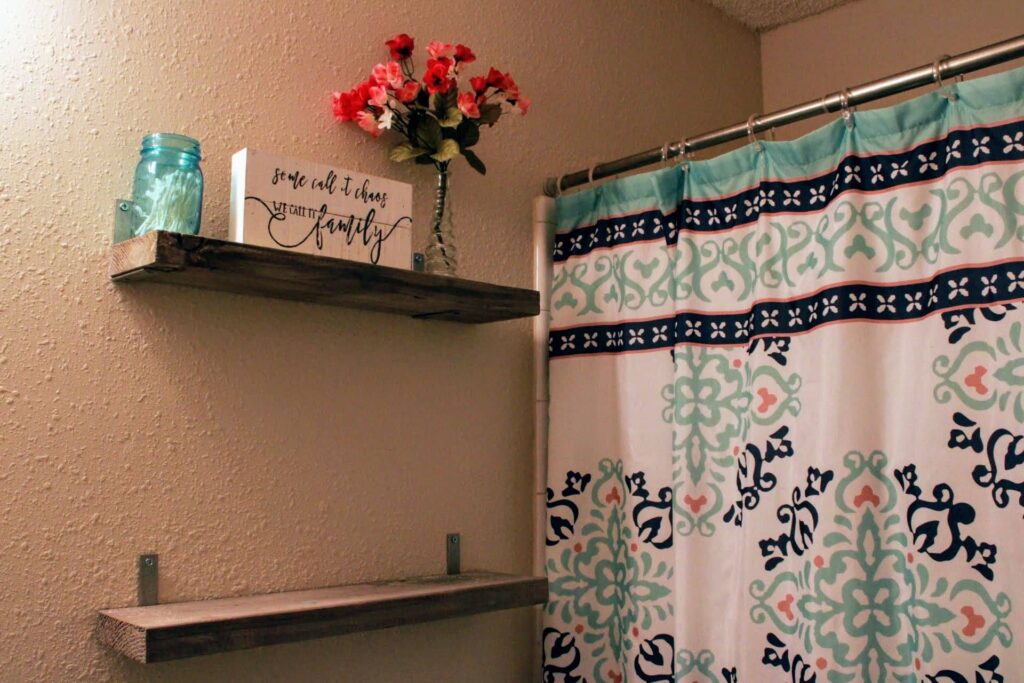
The hero of this simple installation is the L-bracket (also called a corner brace). Since your window box is going to be pretty heavy with the soil, plants, and water, you’ll want to get the largest size brackets that fit your window box.And once you discover the amazing power of corner braces, you’ll immediately realize all the amazing ways you can use them to make TONS of other projects. I used them for projects like my rectangle shelf, and fake floating shelves. You can see how these work right here:
Step 1: Hang L-Bracket on Siding
Get your brackets and choose where you want your window box to sit. Make sure your brackets are level, and then mark the holes from the bracket.
Then, use your drill bit to drill a pilot hole through your siding and into the wood behind it.
Then use your drill and the wood screws to attach the bracket to the siding.
Of course, I don’t have a picture of this because I originally did this in 2018, and I was quite literally juggling two kids under two–and not doing it all that well.
But here’s a picture from HGTV that shows you what this will look like.
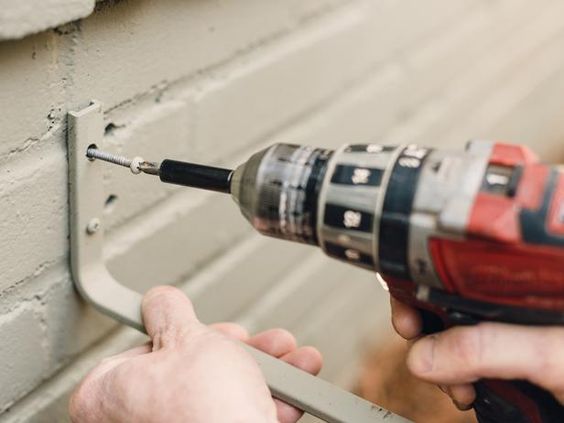
In this picture, it looks like they painted their bracket and screw….. But don’t do that. You won’t ever see the bracket, and painting hardware in general is a no-no.
Related post: How to Paint Your Spindles
Step 2: Attach Window Box to the Brackets
Now, put your window box on top of the brackets. You’ll drill pilot holes the same way you just did, then add your wood screws. You’ll be able to feel the box tighten on the bracket.
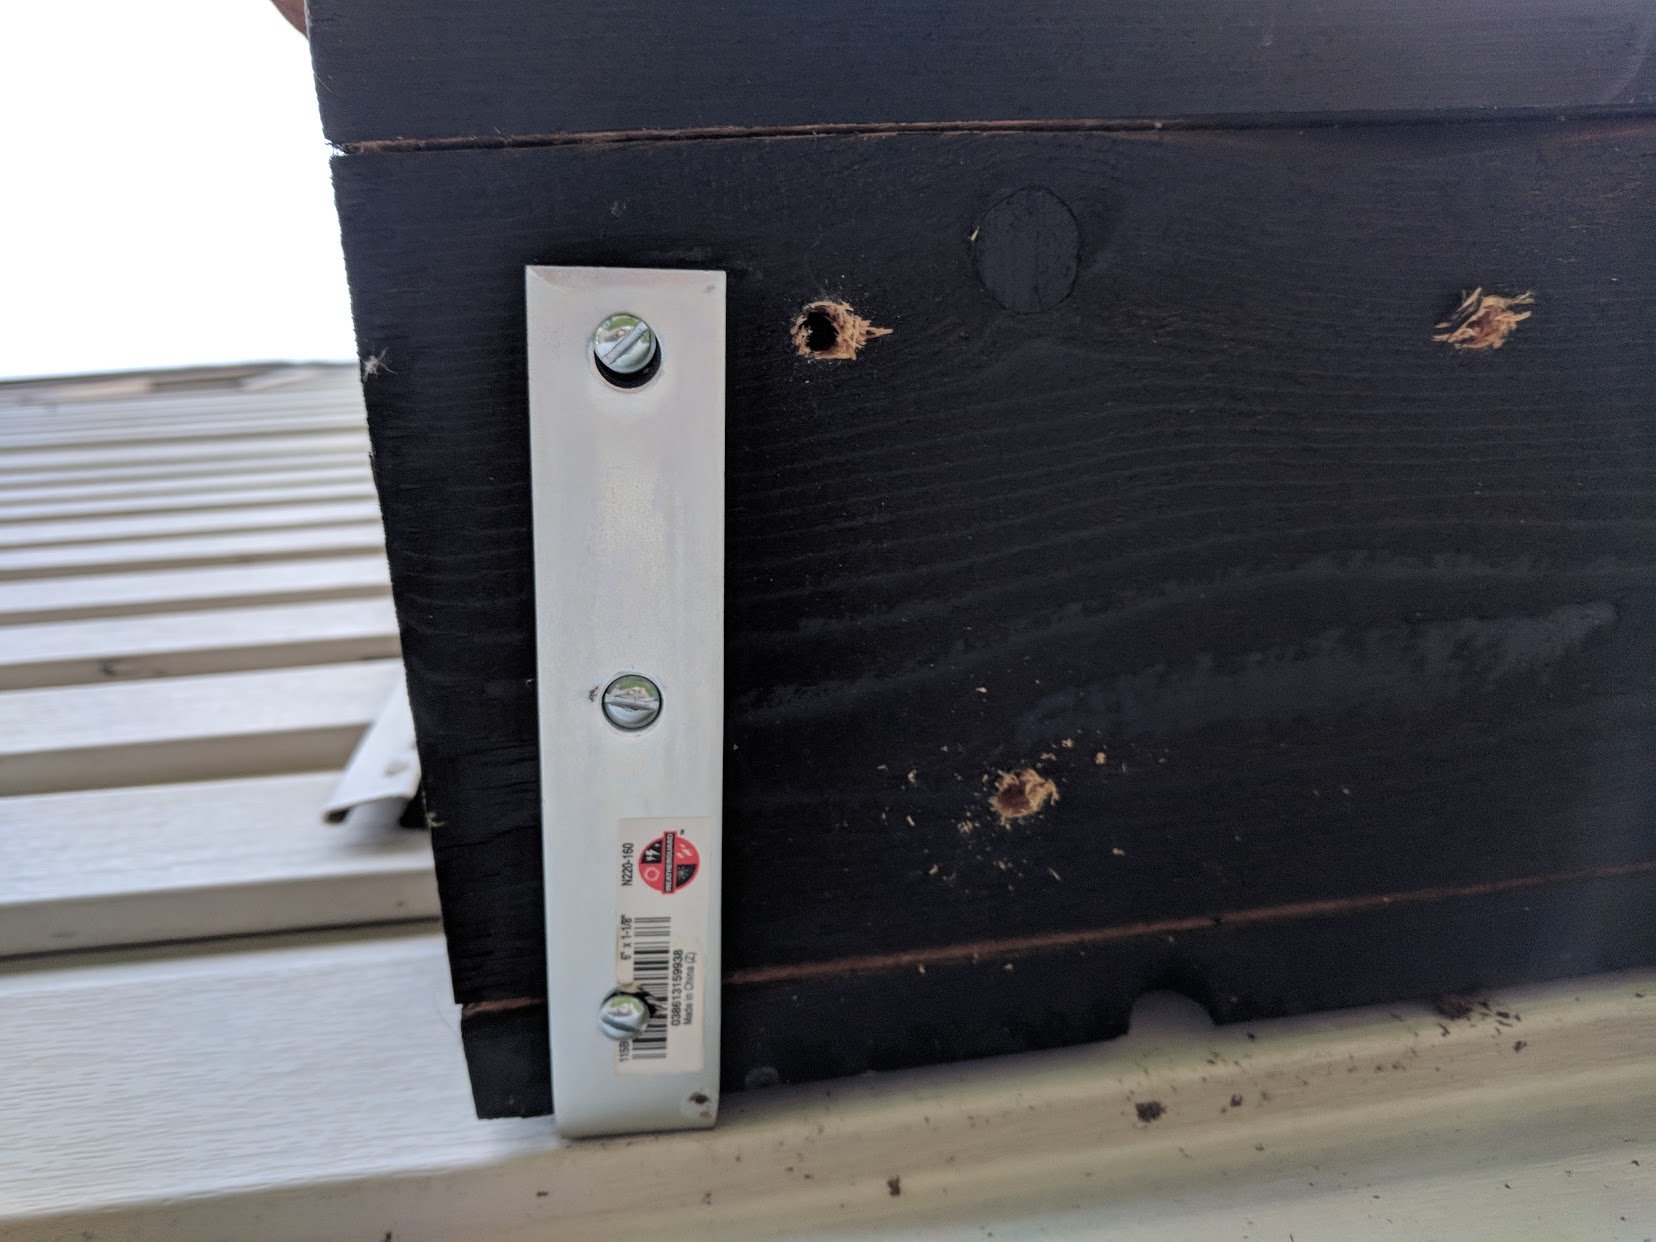
Then, drill more pilot holes all around the bottom of your box for drainage. You can use a large drill bit for this part if you have one.
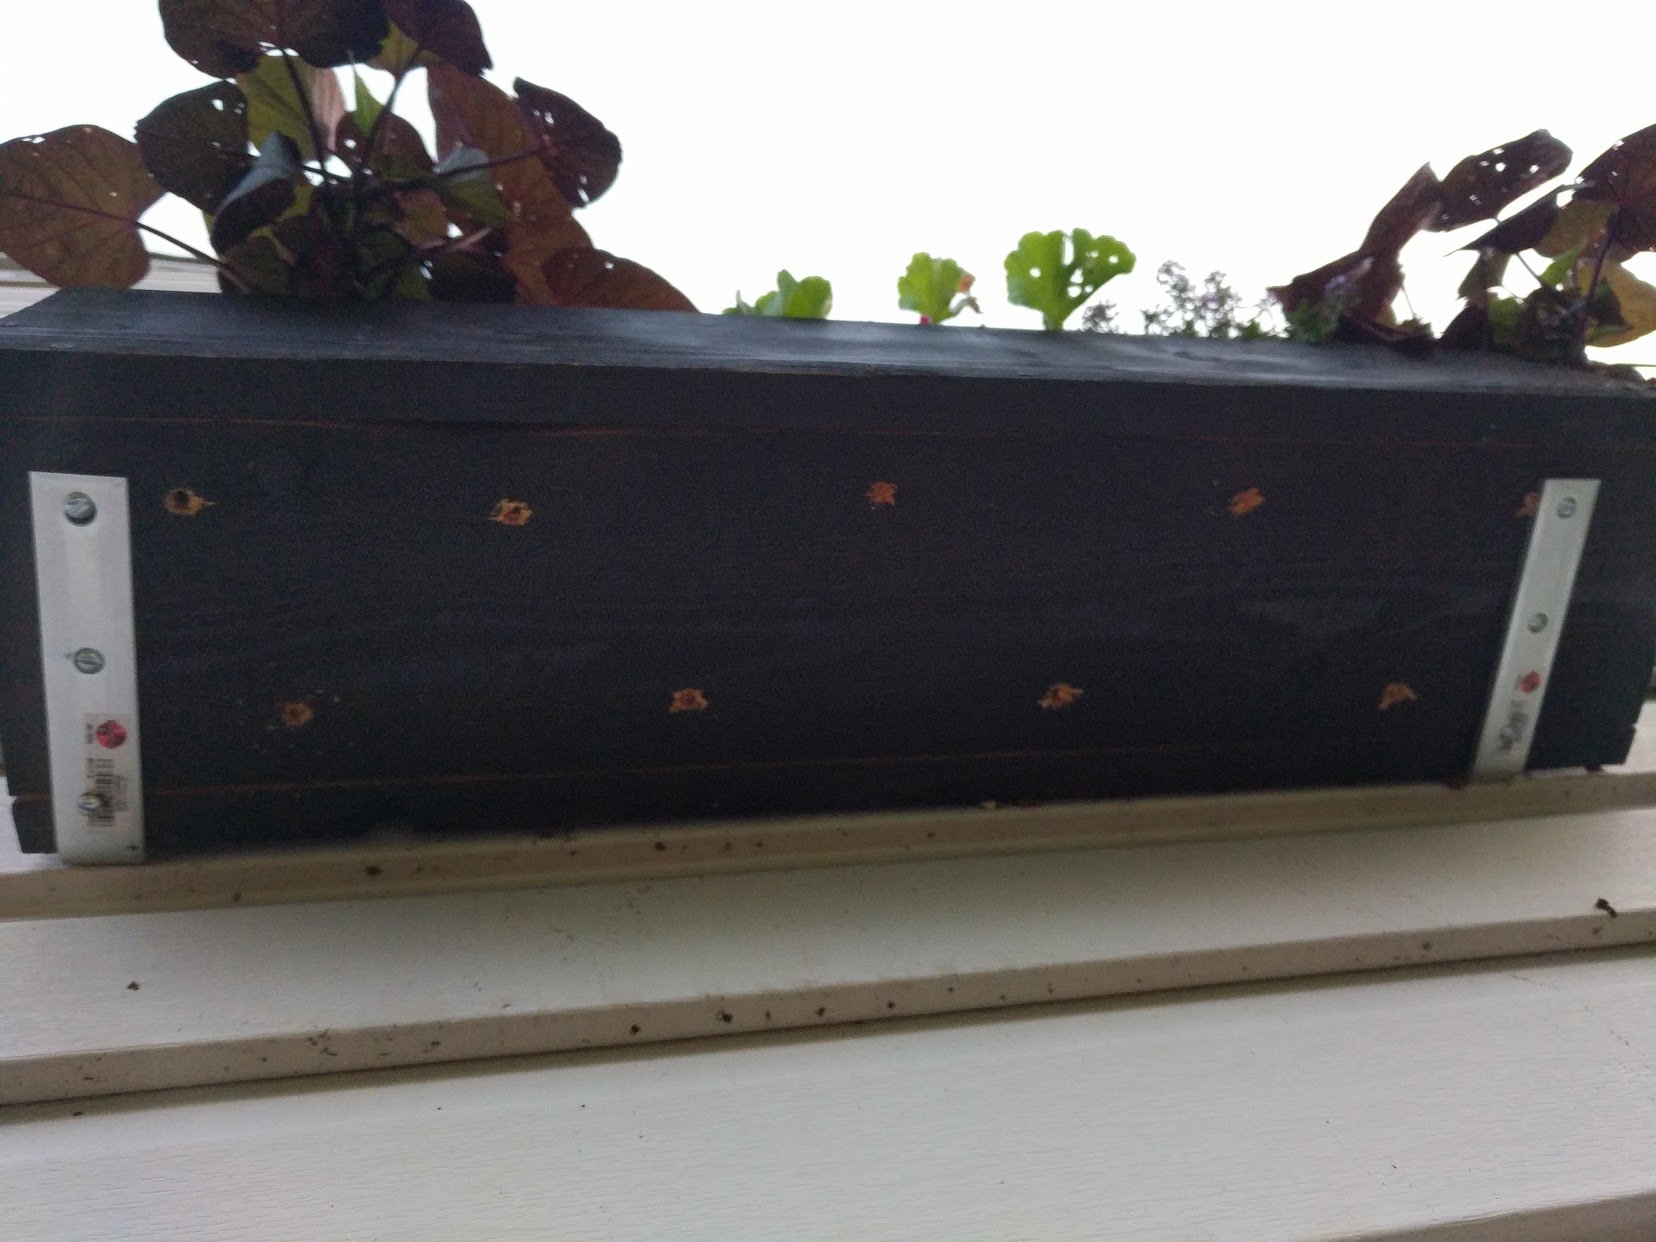
Oh, the irony. Now that it’s 2022, a sold FOUR years of DIY practice after this original post, and I am just realizing that I think the screws I used for this project were too small.
So don’t use this image above as an example of which screws to get. Make sure your screw heads don’t go THROUGH the holes in your steel bracket. You’ll probably want to look for #10 or #12 screws, depending on what size brackets you get.
Step 3: Fill Your Window Box + Admire Your Work
Yep, that is seriously how easy it is to install a window box to vinyl siding! Now it’s just the fun part–adding flowers!
Don’t forget to check out my list of the best ways to decorate your window box for the Fall: The Best Fall Window Box Ideas
As I mentioned, these window boxes were the first thing I ever truly built, and they were the final step of my 2018-mini-curb-appeal-boost. I also painted my shutters, and used a trellis creatively to beautify another part of the ugly exterior.
This year (2022), I’m about to dive into a few more exterior projects that are relatively easy and will transform my entire house. Come follow along on TikTok or Instagram!
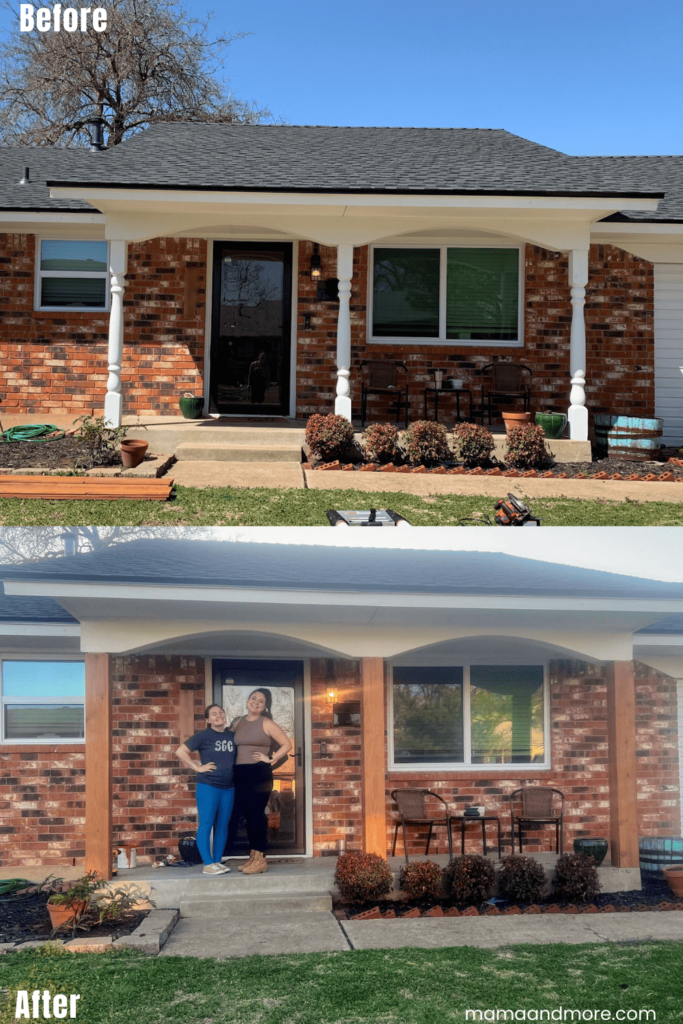
Related post: How to Wrap Porch Posts with Wood (pictured below)
More related posts:

