Tapestries are totally slept on. (As an elder millenial–did I use that slang correctly?) For less than the cost of most simple picture frames, you can buy a tapestry AND build a quick and easy DIY tapestry frame. Ready to do it?
Want to jump to the section you need? Here are the steps:
- Measure the tapestry and your space
- Cut your wood to size
- Stain or paint your wood
- Assemble your frame
- Staple your tapestry to the frame
- Hang your tapestry frame
Related: Want another way to make your home reflect YOU–for insanely cheap prices? Check out my printable wall art on Etsy in the Black Door Shop. You can even get 20% off your order with the code 20OFF. 🙂
Supplies for your DIY Tapestry Frame
Need more details on the best tools & supplies for your projects? Check my Incomplete List of the Best Tools & Supplies for DIYers. It includes ONLY tools & supplies that I’ve personally used and recommend, plus some honest notes about each product and what you really need (and don’t need).
- A tapestry–here are all of my favorites that you can get from Amazon!
- 1 x 2in furring strip board (You don’t need to use this EXACT size, but it’s the cheapest for sure!)
- Flat corner braces
- Wood stain
- Staple gun and 1/4 inch staples
- Finish nails and a hammer
- OR wood screws and a drill
- Circular saw or jigsaw (optional)
- D-ring picture hangers (optional)
Step 1: Measure the Tapestry and Your Space
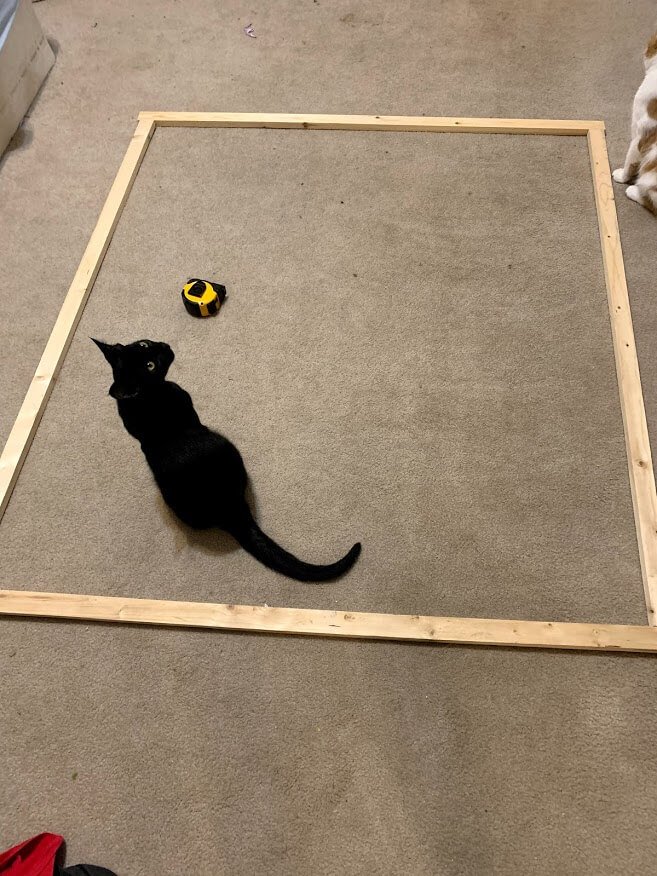
The cool thing is that you can totally customize the size and shape you want. You can get a LARGE tapestry and make the frame as large as possible–or, you can create the frame whatever size you want to make a specific shape for your tapestry.
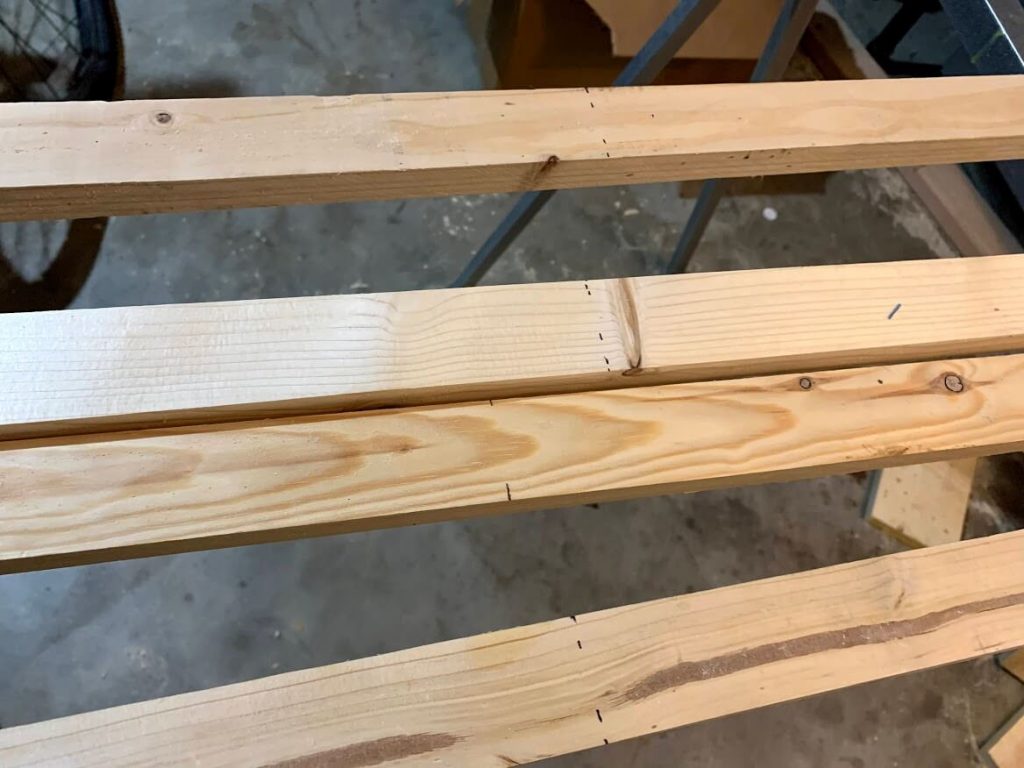
Step 2: Cut Your Wood to Size
Once you know how large you want your framed tapestry to be, go to your nearest Lowe’s or Home Depot and get 1 in. x 2 in. x 6 or 8 ft furring strips. If you’re making a smaller frame, you take your measurements and have the employees make the cuts for you.
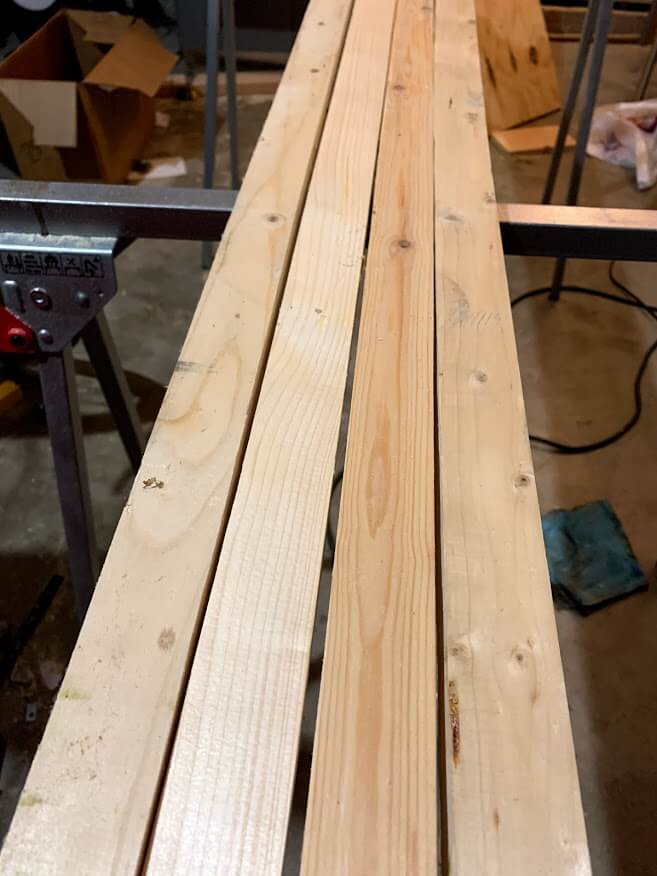
Or you can use a circular saw or jigsaw to make the cuts yourself. These are quick and easy cuts since the wood is so thin. This is the circular saw I got for Mother’s Day this year, and I LOVE IT.
Step 3: Stain or Paint your Wood
Normally, I suggest sanding your wood, using pre-stain conditioner, and then staining your wood.
And sanding would surely still be a good idea. However, I skipped all of that and went right to staining. These boards are so thin that I don’t think it’s noticeable.
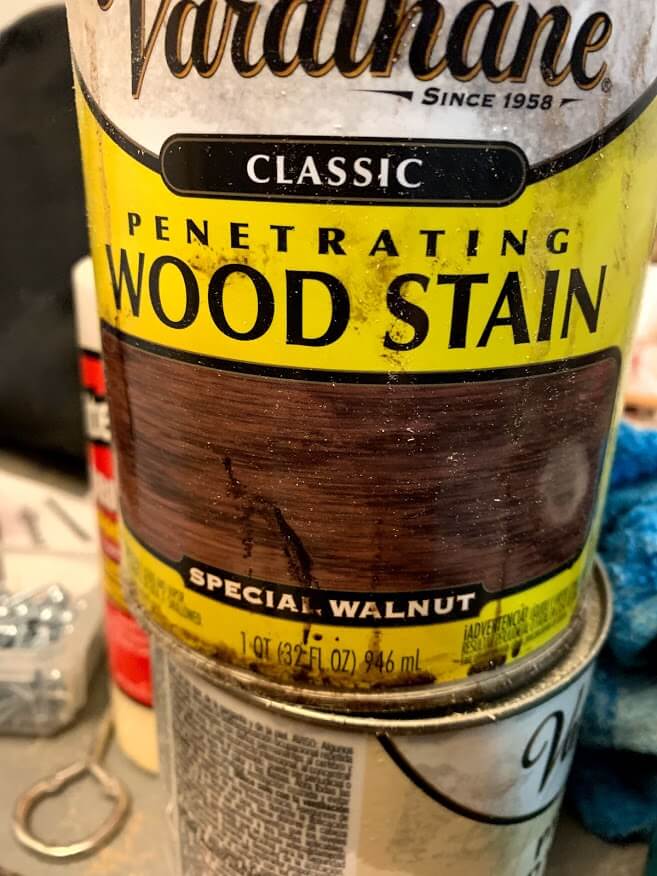
Well, actually, I can see a difference without the pre-stain. But it just doesn’t really make much of a difference for this project.
I also didn’t stain the back of my frame. This truly is the definition of a quick and easy project–no need to be super particular or worried about every detail. It’s pretty foolproof.
Step 4: Assemble Your Tapestry Frame
Once the stain was dry, I flipped over my wood pieces and arranged them in the rectangle I wanted. Then, I held one of the flat corner braces on, and drilled the screws in.
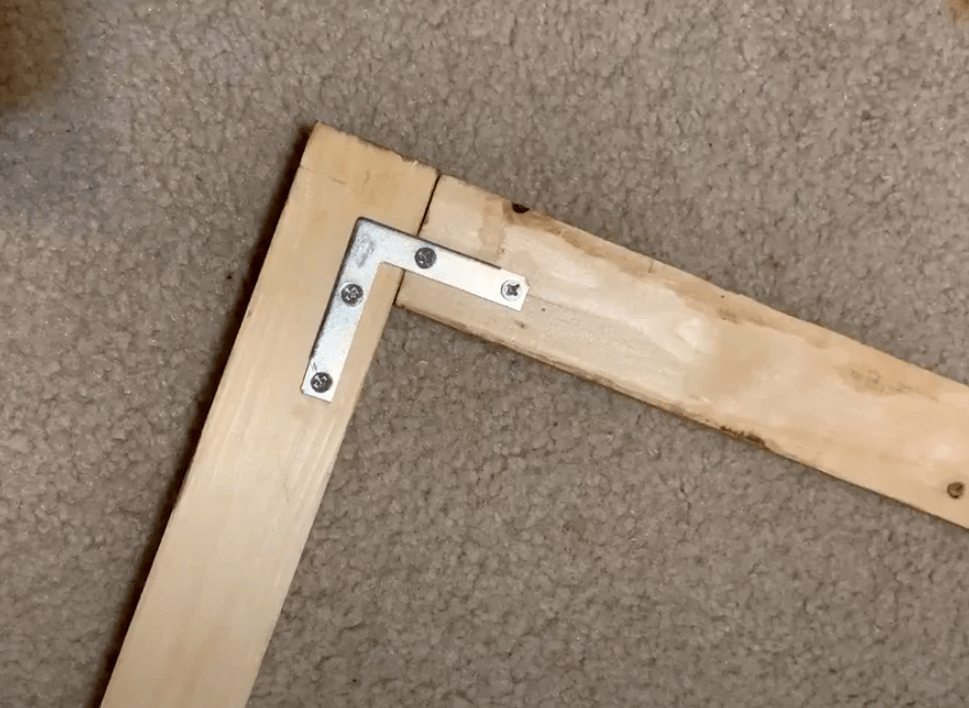
No clamps, no measuring, no level. FOOLPROOF.
For a little extra security, you could use one wood screw in each corner. I definitely think this would be a quick and easy step that would make a difference.
I did that to all four corners, and…. magic. The frame was done!
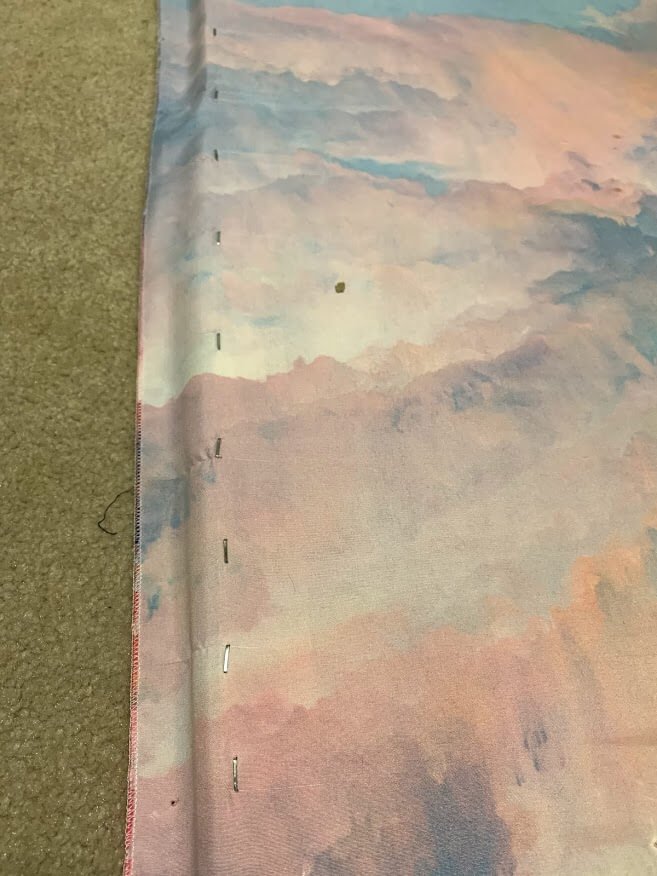
Step 5: Staple Your Tapestry to Your Frame
With your frame still front-down, lay your tapestry face-down on top of it.
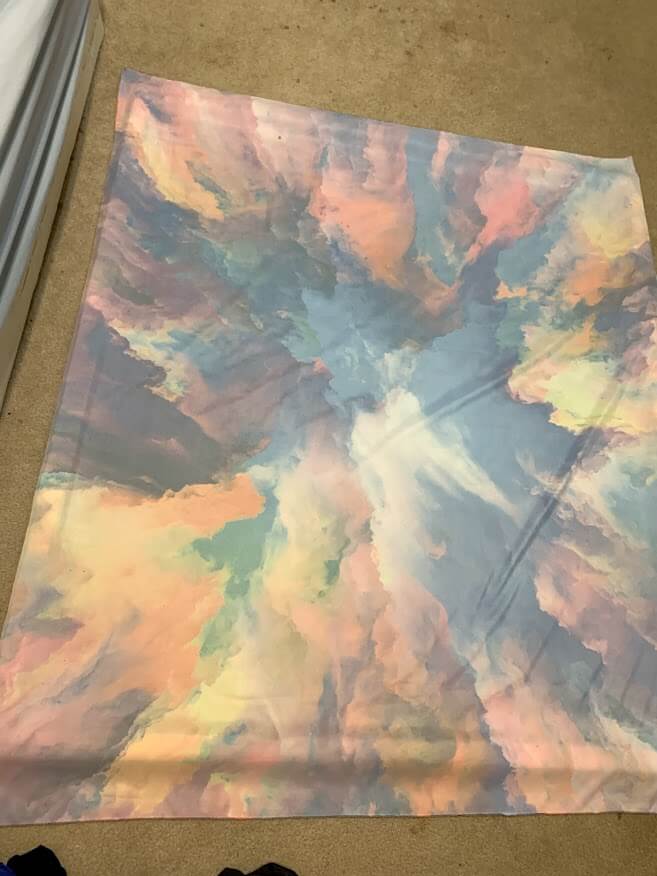
Make sure it’s sitting the way you want it to, and then use your staple gun and start stapling!
Make sure you pull each side pretty dang tight–this is what makes it look finished in the end.
If Your Tapestry is Bigger Than Your Frame
Now, I made my frame slightly smaller than my tapestry because of the location I was hanging it.
If you’re doing the same thing, DON’T worry about making your tapestry fit the first time around. Just staple the whole way around your frame, making sure the tapestry is tight.
THEN, go back around your frame, rolling the excess edges over and stapling.
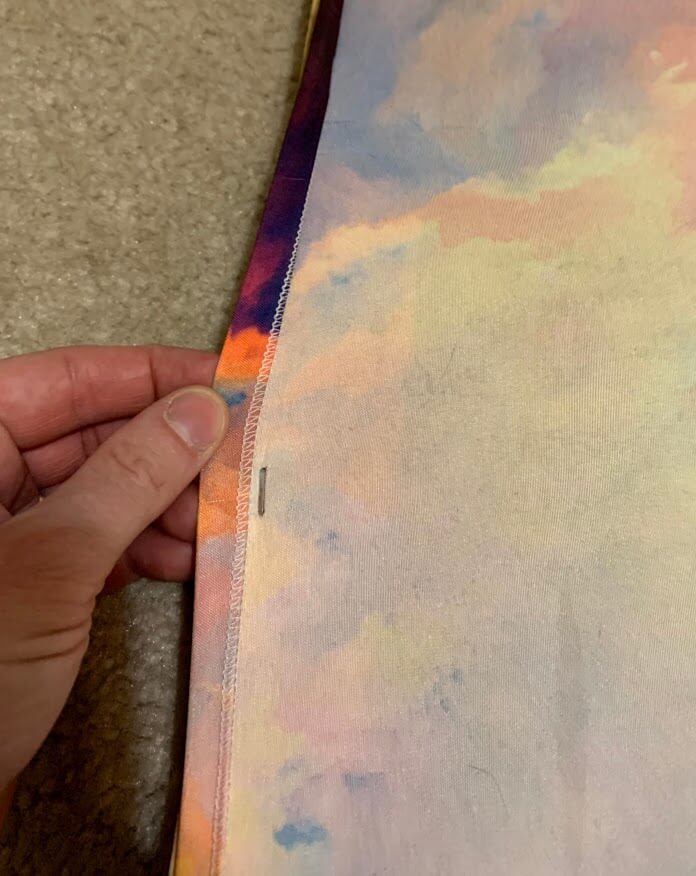
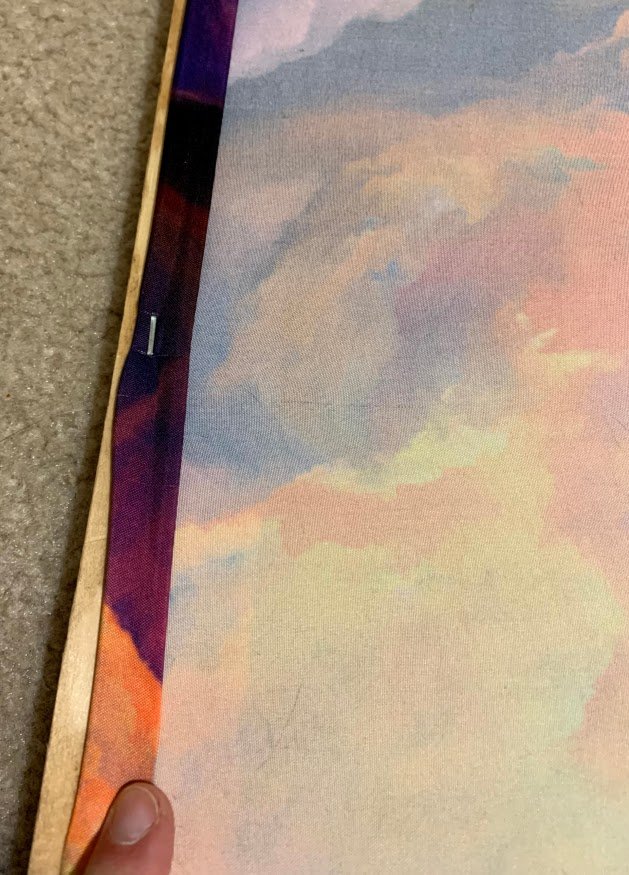
Super easy.
Step 6: Hang Your Tapestry Frame
There are a few ways to do this–I chose an EXTREMELY simple way.
I used ONE anchor, and then nailed each corner to my wall.
This frame with the tapestry is NOT heavy. The only reason I used an anchor at all is because the plaster in my house is the worst. I’ve had a TON of trouble installing things if they aren’t attached to a stud–it’s like the plaster just crumbles.
It’s very possible that you could just use nails to hang yours, especially if you’re not comfortable using wall anchors.

Alternative Methods to Hang Your Tapestry Frame
You could be a little bit crazy like me, and nail your tapestry straight to the wall. If you do, make sure your nails are longer than your frame. I also suggest finish nails, which don’t have a flat head.
However, you could also use D-ring picture hangers so that your nails don’t go through your frame.
Show Off Your Tapestry Frame
You could potentially start and finish this project in the next 24 hours. If and when you do, show me! I LOVE seeing when people do my projects. Find me on Instagram or in the Facebook group and send me a picture!
PS, if you’re on TikTok–let’s be friends!
Other posts you might like: