I know you’ve seen accent walls all over Pinterest. I’ve been drooling over them for years–especially the geometric accent walls. But I always thought they were too complicated and didn’t go for it.
Until one day… I did. And let me tell you… this is actually one of the EASIEST projects you could do.
Rather watch the process? Watch my YouTube video!
Not All Geometric Accent Walls Are Created Equal
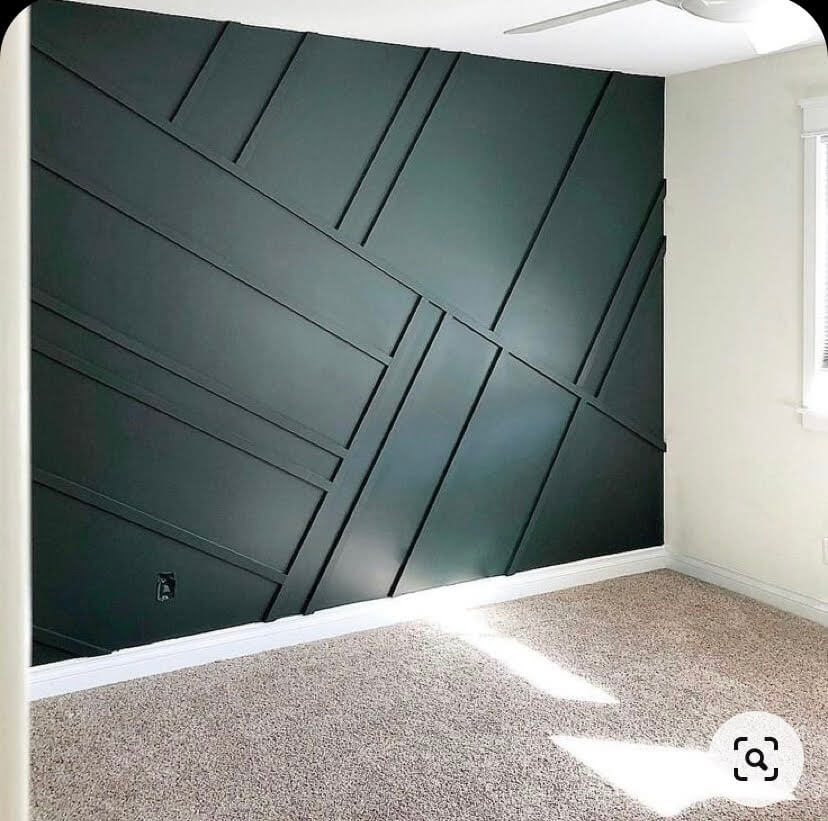
For example, this was my inspiration picture:
I also love this kind, which you’ve probably seen everywhere:
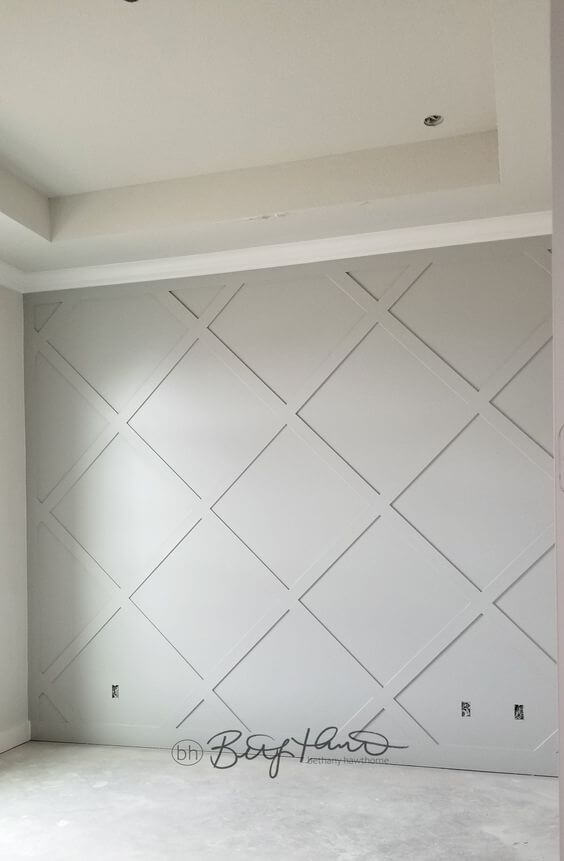
You might not see it right away, but there is a HUGE difference between those walls. If you want an angled and patterned wall, like the second picture, you’ll need to measure on your actual wall, the length of your pieces, and the angle of your cuts.
…But I did none of those things. I will not be teaching you how to measure and cut for a patterned accent wall.
But if you want to get a unique, beautiful geometric accent wall DONE with little-to-no cost, then read on! This is going to be fun.
Related: Want another way to make your home reflect YOU–for insanely cheap prices? Check out my printable wall art on Etsy in the Black Door Shop. You can even get 20% off your order with the code 20OFF. 🙂
DIY Accent Wall Supplies
Need more details on the best tools & supplies for your projects? Check my Incomplete List of the Best Tools & Supplies for DIYers. It includes ONLY tools & supplies that I’ve personally used and recommend, plus some honest notes about each product and what you really need (and don’t need).
If you are any kind of DIY-er, you most likely already have all the supplies needed for this project.
- Paint and paintbrush
- Any scrap piece of wood–or furring strips like these
- Any kind of saw (I have and love this circular saw)
- Level (just need a small one)
- Finish nails and a hammer (or, of course, a nail gun)
I’m also going to preface the rest of this post with a small apology for the lack of GOOD photos of the process.
For instance, here’s my wall BEFORE:
This was an extremely spur-of-the-moment project. I had an idea with a scrap board and just went for it. I did not plan ahead–I hope that shows you just how easy it is to make a geometric accent wall.
Step 1: Paint Your Wall
If you’re changing the wall color, start with this step. In my case, I was keeping the wall color and changing the other three walls, so this is the only step I skipped.
I’m not going to get into the details of this step, but you might need painter’s tape, depending on your walls and your skills with a paintbrush.
Okay, back to the cool stuff.
Step 2: Plan Your Geometric Accent Wall
There are a thousand different ways to make an accent wall. So before you start, make sure you know what you want and you measure what you need.
So all I did was throw some painter’s tape on the wall to visualize where I wanted the boards to go. It wasn’t perfect, but it helped guide the process.
Step 3: Cut Your Wood
I used a random board I had leftover that was 10 inches wide, 1 inch thick, and about 39.5 inches long. It was already stained AND painted. Yes, both.
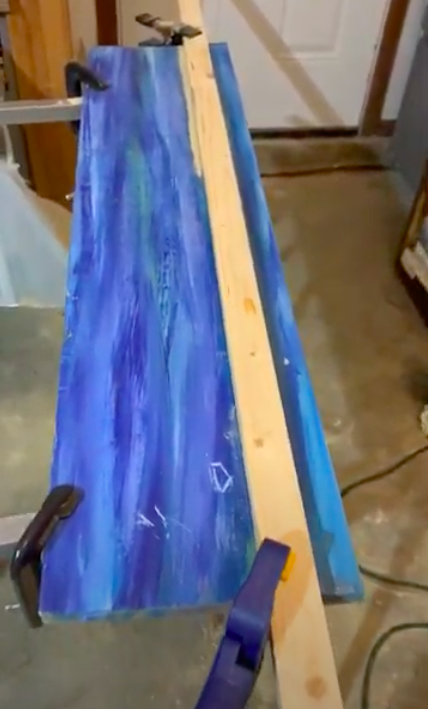
So I set up a jig to cut 1/2 inch straight pieces off with my circular saw. It took about 30 minutes to cut my entire board into a bajillion pieces (an approximate figure, clearly).
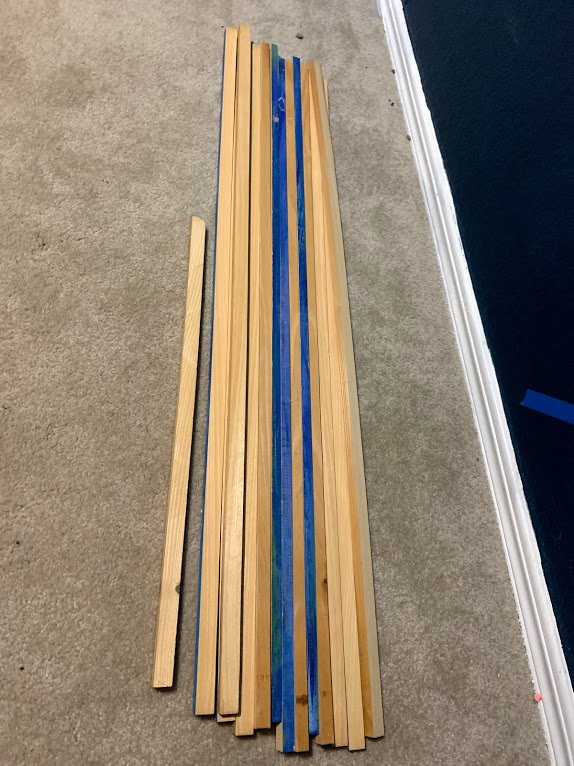
Step 4: Attach Wood to Wall
Next, I just took those wood strips to my wall. I used the tape as a general guide and used a level to make sure all pieces were being placed at a 45-degree angle.
Then, all I did was nail those boards to the wall with a hammer–you can see it more clearly in the video below. Obviously, it would have been easier and even faster to use a nail gun. However, since these strips were so thin, even one small nail held them pretty well–but I still used two in each strip.
Related: How to Nail into Drywall
Your level will tell you if the boards are 45 degrees either way, so when I wanted a board to face the other angle, I just held the level the other way.
Yep, that easy.
Do You Really Need to Mark Your Accent Wall With Painter’s Tape?
Since I had randomly put painter’s tape up, it definitely hadn’t been 45 degrees. Therefore the pieces I nailed to the wall didn’t match the tape lines. So technically you don’t NEED painter’s tape for this project.
However, I would still recommend using it. It’s the easiest way to accurately visualize the set up you want for your wall.
Step 5: Paint the Wooden Accent Pieces
I just took a paintbrush and went at the wooded pieces. Again, don’t complicate this. It probably took fifteen minutes.
After it dried, there were probably 4-5 small spots I had to re-cover or spots I just missed, but that was it.
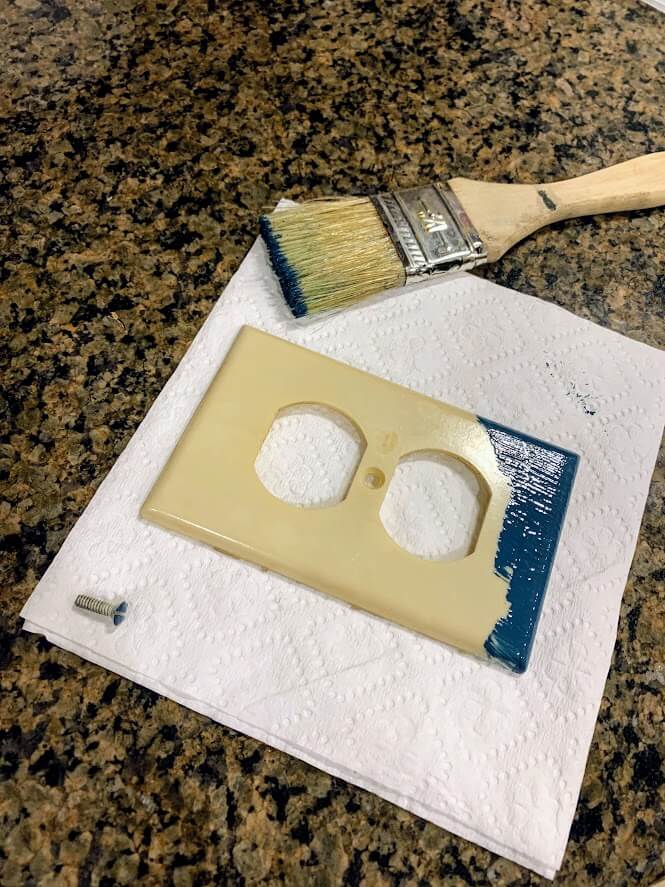
Other Things To Paint
If you have outlets on your wall, you should plan to paint those. It will probably take an extra ten minutes, and will make the accent wall look so much more impactful.
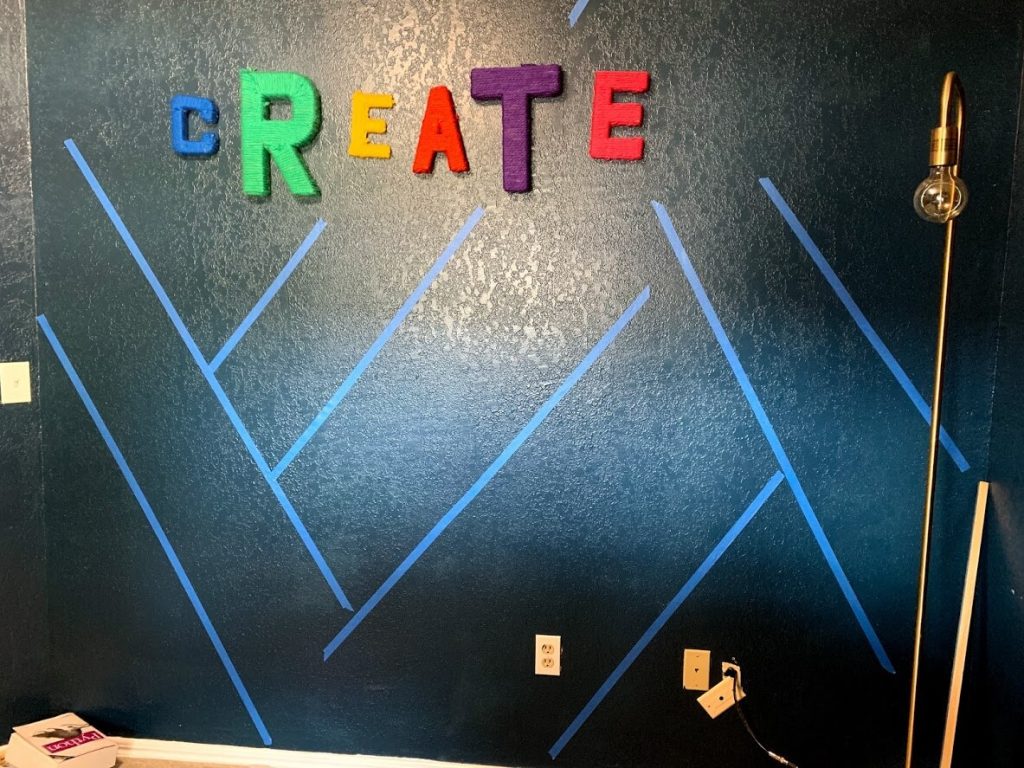
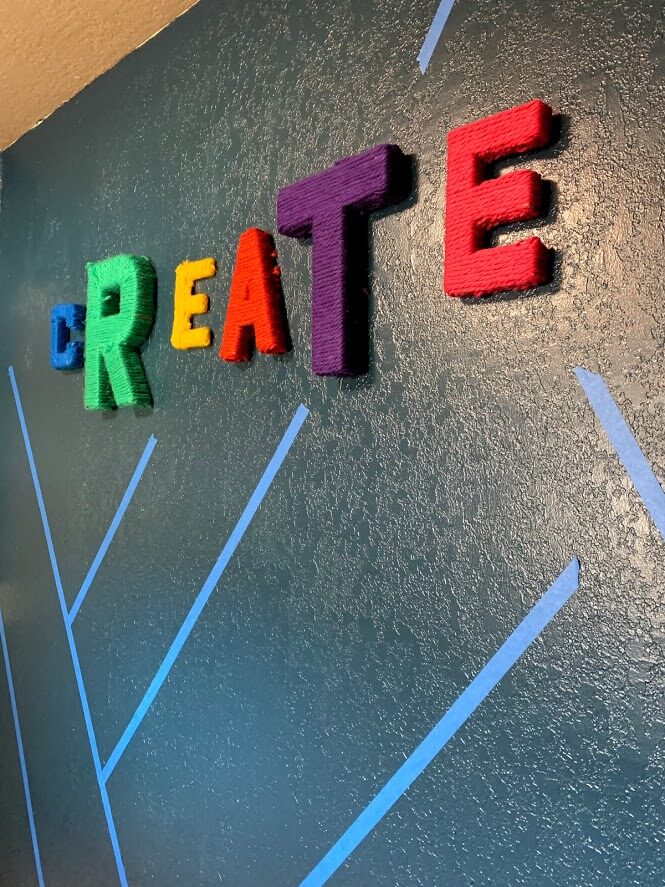
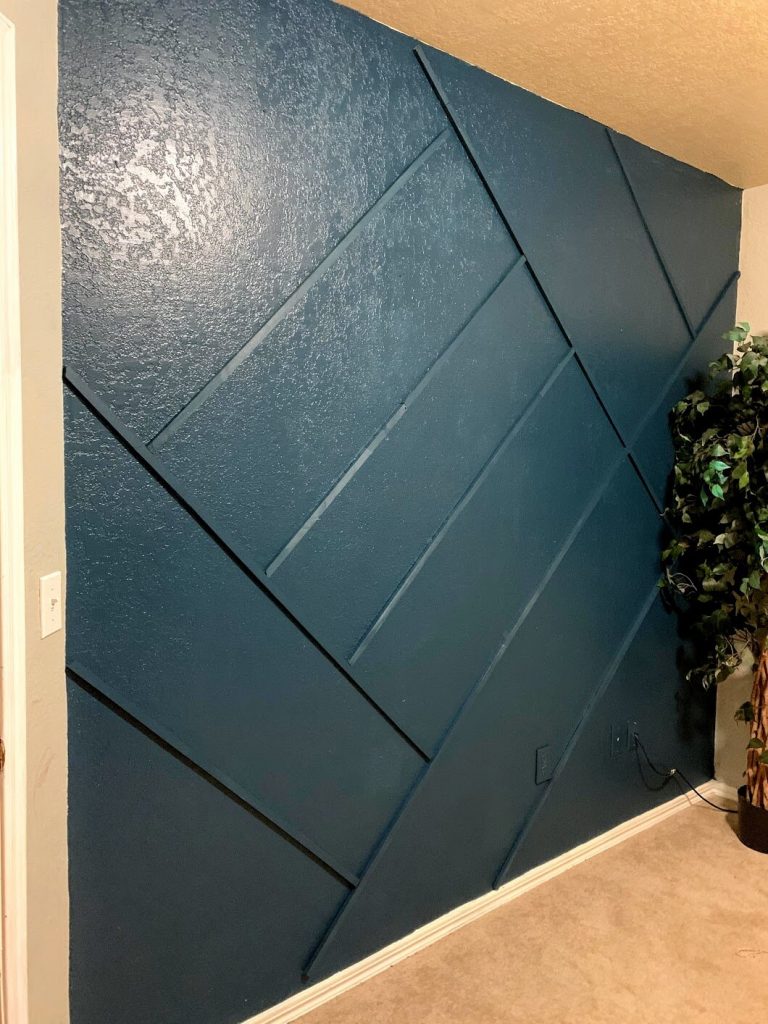
Stand Back and Admire Your Geometric Accent Wall!
Yep, that’s REALLY it. It is possible you’ll need to caulk (I didn’t), or make small adjustments. But don’t let that stop you–my geometric wall is far from perfect and I still get many compliments on it!
Related: Peel & Stick Floor Tile Review + DIY Floating Rectangle Shelf
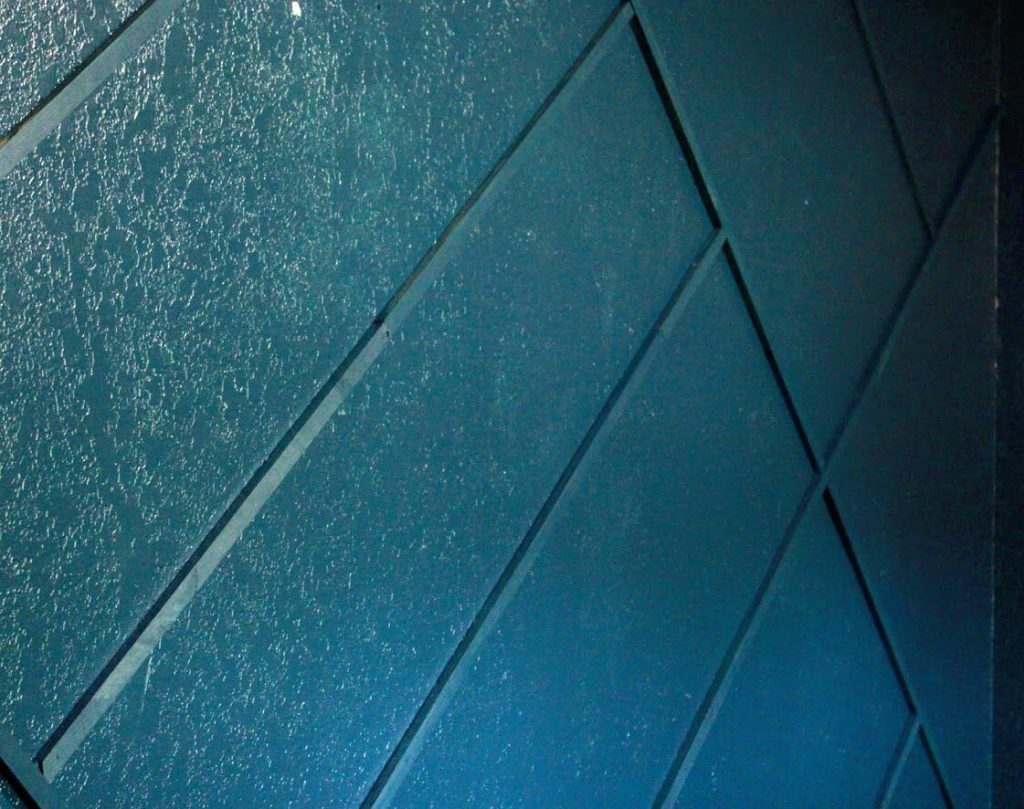
Here’s a few better pictures of the final result:

I definitely suggest you watch this 30-second TikTok video to see how easy the DIY geometric accent wall really is:
If you want more DIY inspiration and tips, find me on YouTube, TikTok, and Instagram! I can’t wait to see what you do. 🙂