In a world of chaos, we have to treasure every piece of pure, innocent, joy we can find.
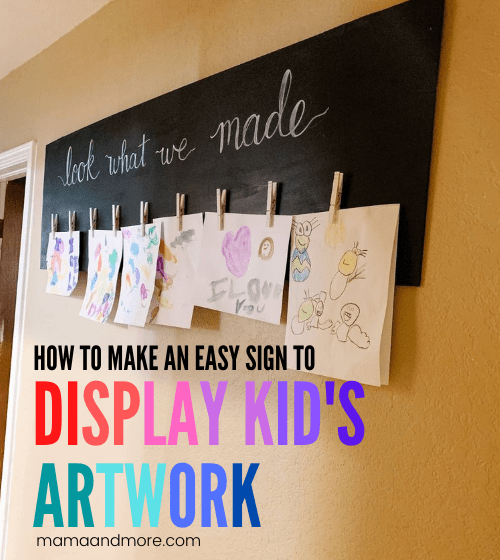
Okay, that was as deep as I’ll go! Are you looking for a way to display kid’s artwork that doesn’t cost hundreds of dollars or require trigonometry-level math skills?
GREAT. I was too. Here’s how you can make this DIY kid’s art display:
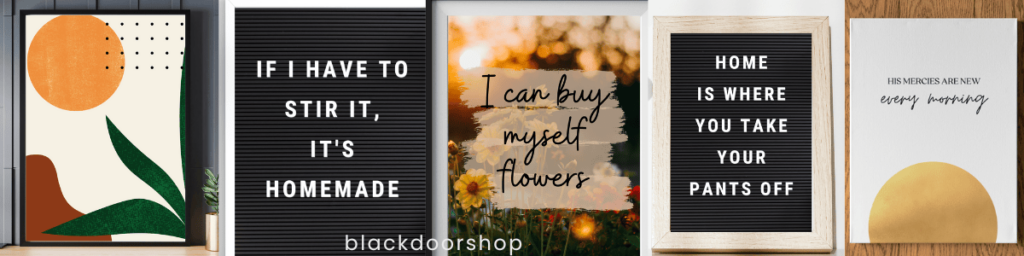
Related: Want another way to make your home reflect YOU–for insanely cheap prices? Check out my printable wall art on Etsy in the Black Door Shop. You can even get 20% off your order with the code 20OFF. 🙂
DIY Kid’s Art Display Supplies
Need more details on the best tools & supplies for your projects? Check my Incomplete List of the Best Tools & Supplies for DIYers. It includes ONLY tools & supplies that I’ve personally used and recommend, plus some honest notes about each product and what you really need (and don’t need).
- Large Board: I used a scrap piece of hardboard or eucaboard, but another affordable option is this fiberboard
- Paint: I used this chalk paint because I was really into chalk paint at this time, but you could use latex paint from a hardware store or even acrylic (less than $1 each!)
- Paint brush:
- Paint marker: This is the magic part of this! You may want to look at a few sizes of paint markers.
- Clothespins: Or any kind of clip you want
- Superglue
- Frame (optional)
- Stencils (very optional, I did not use these)
Plywood is another alternative for your DIY art display, but it’s going to be much more expensive to buy new. Plus, the hardboard is extremely easy to work with–it doesn’t need sanding or anything like that. I didn’t even use primer when I painted it!
It comes in 4 ft x 4 ft sheets, and you can ask someone at Lowe’s or Home Depot to cut it down.
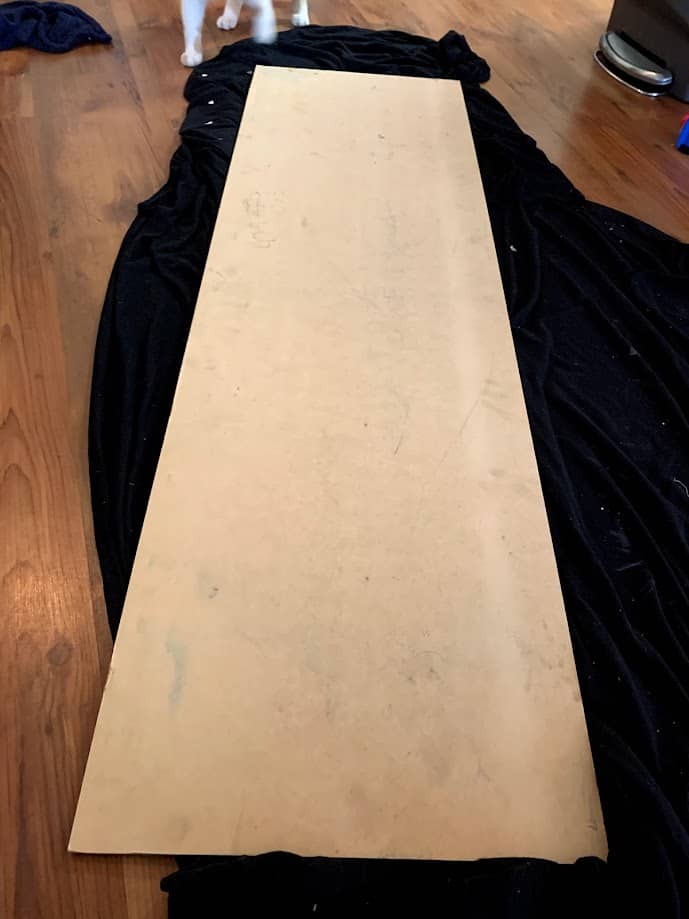
I honestly stumbled on this material in the cull wood cart at Home Depot. I got it for 70% off and had no idea how I was going to use it for a while! This was the perfect solution.
Step 1: Paint the Board
I simply used one of the large foam brushes to cover the board I had with paint. You’ll most likely need to two do coats of paint, regardless of which type of paint you use.
This is a great 20-minute activity to just zone out and slap paint on a board. Read some of my other painting projects, like my DIY Ombre Dresser and tips for painting vases.
Step 2: Draw Your Letters
This is the most challenging part of this project–planning out where your letters are going to go. I really didn’t have much of a strategy here, I just used a pencil to sketch it all out. It’s okay if you make mistakes–just paint over them!
When I did this, I had recently taken a one-time hand-lettering class, which helped. You could watch one or two Youtube videos and I’m sure you’d be set.
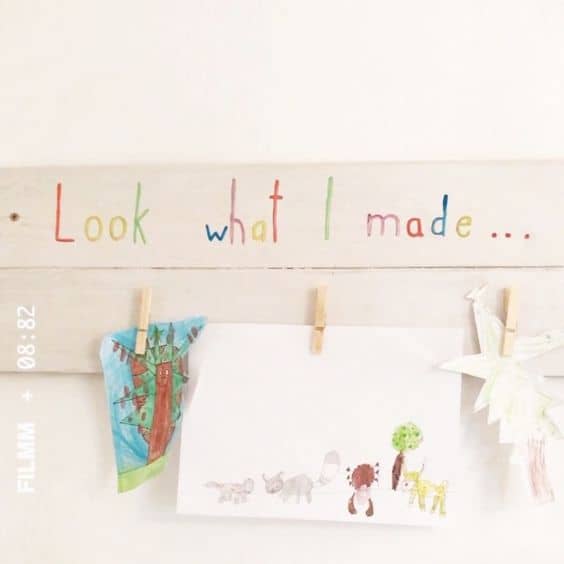
If you’re totally hopeless at hand lettering (and you’re probably not), you could also go for a more kid-friendly design like this one:
But also…. don’t worry about it being perfect! PUNCH PERFECTIONISM IN THE FACE, girl!
Step 3: Trace with Your Paint Marker
Now it’s time to open up that paint marker, shake it like a polaroid picture, and start “painting” on your letters.
I went with black and white for everything on my sign, but that’s because I actually love colors TOO much and don’t have an eye to put them together well.
You could do rainbow letters and rainbow clips and make this even more fun! The world is your playground. Or oyster. Or whatever the phrase is.

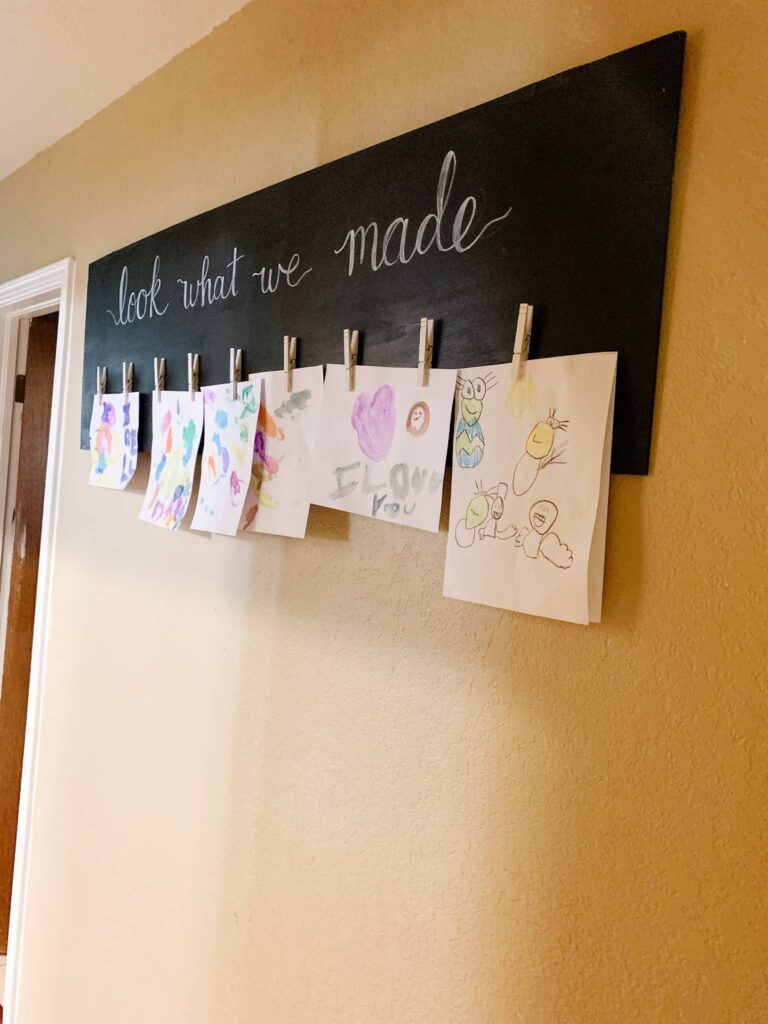
Then your sign is going to look something like this. Paint marker streaks and toys all over the living room and all. 🙂
Step 4: Glue Your Clothespins
Now, before you glue your clothespins on, get out your measuring tape. Measure the width of your board and think about how many clips you want on your board.
You should also remember that you’ll likely be hanging a lot of sheets of paper, which are 8.5 inches x 11 inches. By NO means do you need to have clips that distance apart, but you will probably want them more than an inch or two apart from each other.
Then just grab your glue and put those clothespins on!
Make sure to leave your sign laying horizontally so the glue can fully dry. I got impatient, and a few of my clips fell at first.
Optional Step: Frame Your Kid’s Art Display Board
If you want to add another step, you can purchase quarter-round molding or other trim to your kid’s art display. Ideally, you’ll use brad nails and a nail gun to make it quick and easy!
However, this step is not necessary. I didn’t do it–it’s a great project if you don’t have tools. You need so few supplies to make this beautifully!
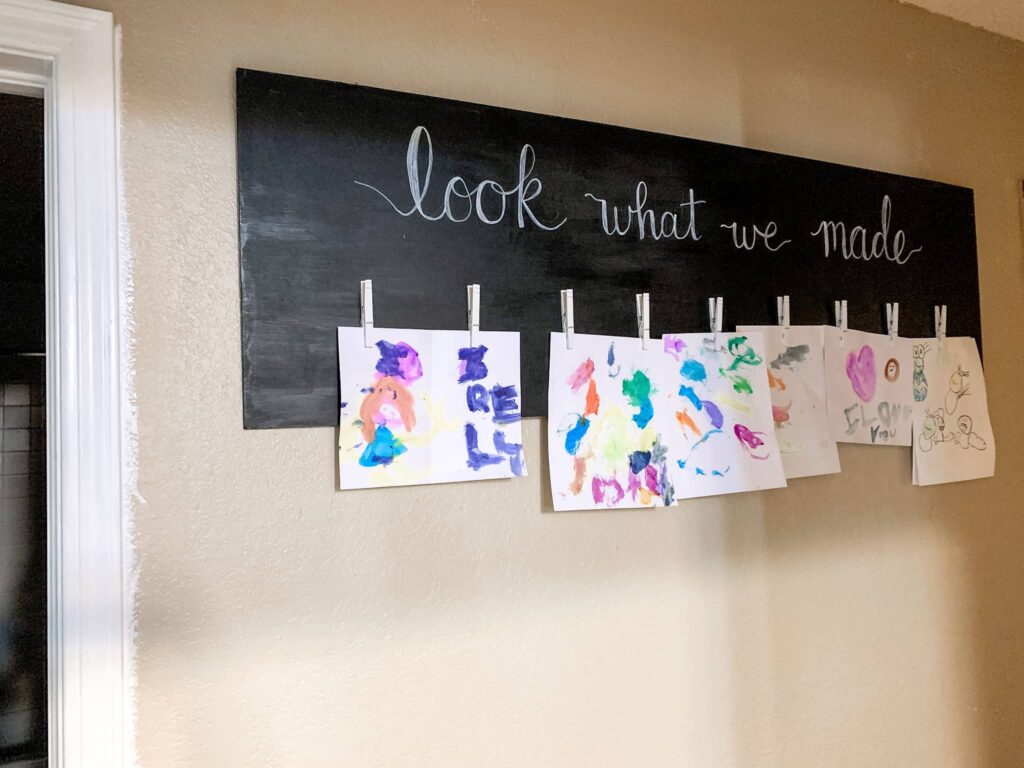
Step 5: Hang Your Board Up
Time to hang that board on the wall and start admiring some kid’s artwork! You can use command strips or picture hangers to get it up there.
It’s fun to see how to look of the board changes with different pieces of kids artwork. 🙂
If you try this project and have any questions, reach out on Instagram or in the Facebook group!